Budget-friendly wall art ideas for your home
You know I love a DIY, budget-friendly project, so how about making your own wall art for your home? Buying art, particularly when it’s on a canvas or comes in a frame, can be expensive, resulting in you spending lots of money when you don’t necessarily need to.
So if you want to add a personal touch to your home, something custom, without breaking the bank, then DIY wall art could be the thing for you. You don’t need a degree in art to come up with something simple that looks great and is easy to make (with a bit of know-how).
Read on for some wall art inspiration you can make yourself, including how you can use a 3D printer to create something amazing (with a guide to show you the best way).

Why should you make your own artwork at home?
Before I show you some inspiration, why should you make your own artwork? Well there are definitely a few reasons to consider:
Personalisation and creativity
When you create your own artwork, you can make something unique that is exactly what you’re after. You could even use tester pots or paint you have leftover to make sure it perfectly matches your existing decor, without needing to search high and low for months on end to find something else. You’ll have complete control over its size, design, colours, materials and more.
Save money
There will be some expenses when creating your own artwork, including paints, canvas, frames, ink, and more. But it is almost certainly going to be cheaper than purchasing a high-end equivalent, and you’ll likely have enough supplies to create more than one piece.
Should you choose to 3D print your artwork, you can reuse materials for future projects, buying one reel of filament for printing.
Some materials can be gathered for free, like twigs, flowers and leaves.
Get a sense of accomplishment
There’s a special sense of accomplishment that comes with creating something yourself and DIY projects are not only fun but also rewarding, since you get to see your vision come to life. Plus, whenever someone asks where you got it, you’ll be able to say you made it!
DIY wall art inspiration
1. Paint on canvas
This is one of my favourite ways to create art at home because it’s so quick and easy and you don’t need to be the most creative person on the planet to make a piece of art that looks great.

You could create the above in less than half an hour and only need one paint colour to achieve the look. If you wanted to get creative, introduce other colours and experiment with different patterns. You could create 3 or 4 smaller canvas prints using this technique too.
Mel (@banish_the_beige) created a fab canvas using acrylic paint, and even got her children involved to help her create it. All she needed was paint and a squeegee and I love the final look.

2. Use a 3D printer
Getting started with 3D-printed wall art is straightforward, even if you haven’t used a 3D printer before. We’ve had a one for a couple of years now and it does come in handy for small jobs. But even if you haven’t got a printer, there are online services that will print parts for you so you can build them and glue them together to create your wall art.
You could create something like below, something with a bit of texture but that isn’t too complicated to print or design.

Here’s what you need to get started:
- A 3D Printer and filament
- Design software
- Glue and adhesives (super glue or epoxy)
- Paints and finishes
If you’re purchasing your own 3D printer, there are a number of models available, so find one that fits your budget and skill level. You don’t necessarily need your own 3D printer, but can send off your designs to a printing service who will do it for you.

Printing and creating your 3D art
Before printing, make sure that your 3D printer is set up correctly. If it’s the first time you’ve used it, you’ll need to calibrate the printer bed, load the filament and check for any errors. Keep in mind that you can also adjust the print settings, like layer height and print speed, to get the best results.
I’d recommend that you print a test piece first, to check you like the result and that it prints accurately.
Now, the fun part, giving life to your creation! The first thing you need to keep in mind is that you MUST assemble everything without gluing – that way you can spot any issues or finishing touches.
Then you can apply the glue. Make sure you apply the glue sparingly to avoid messes and keep a neat finish. Use a fine-tip applicator whenever you need to have precise control and hold the pieces together until the glue sets.
Also, remember that different types of glue work best for various materials.
- Super glue is great for small, detailed pieces
- Epoxy gives you a strong bond for larger sections
To ensure your wall art is stable and durable, reinforce joints with additional adhesive if needed. Also, consider using supports or brackets for larger pieces, and test the stability of your artwork before hanging it on the wall.
If you’re painting the printed pieces, apply multiple thin coats to avoid drips and let each one dry properly before moving onto the next.
3. Create your designs in Microsoft Word
It can be really easy to create something using paint, Microsoft Word, or Canva and then have your design printed and put in a frame. It wouldn’t take long at all and would be so cheap to create.
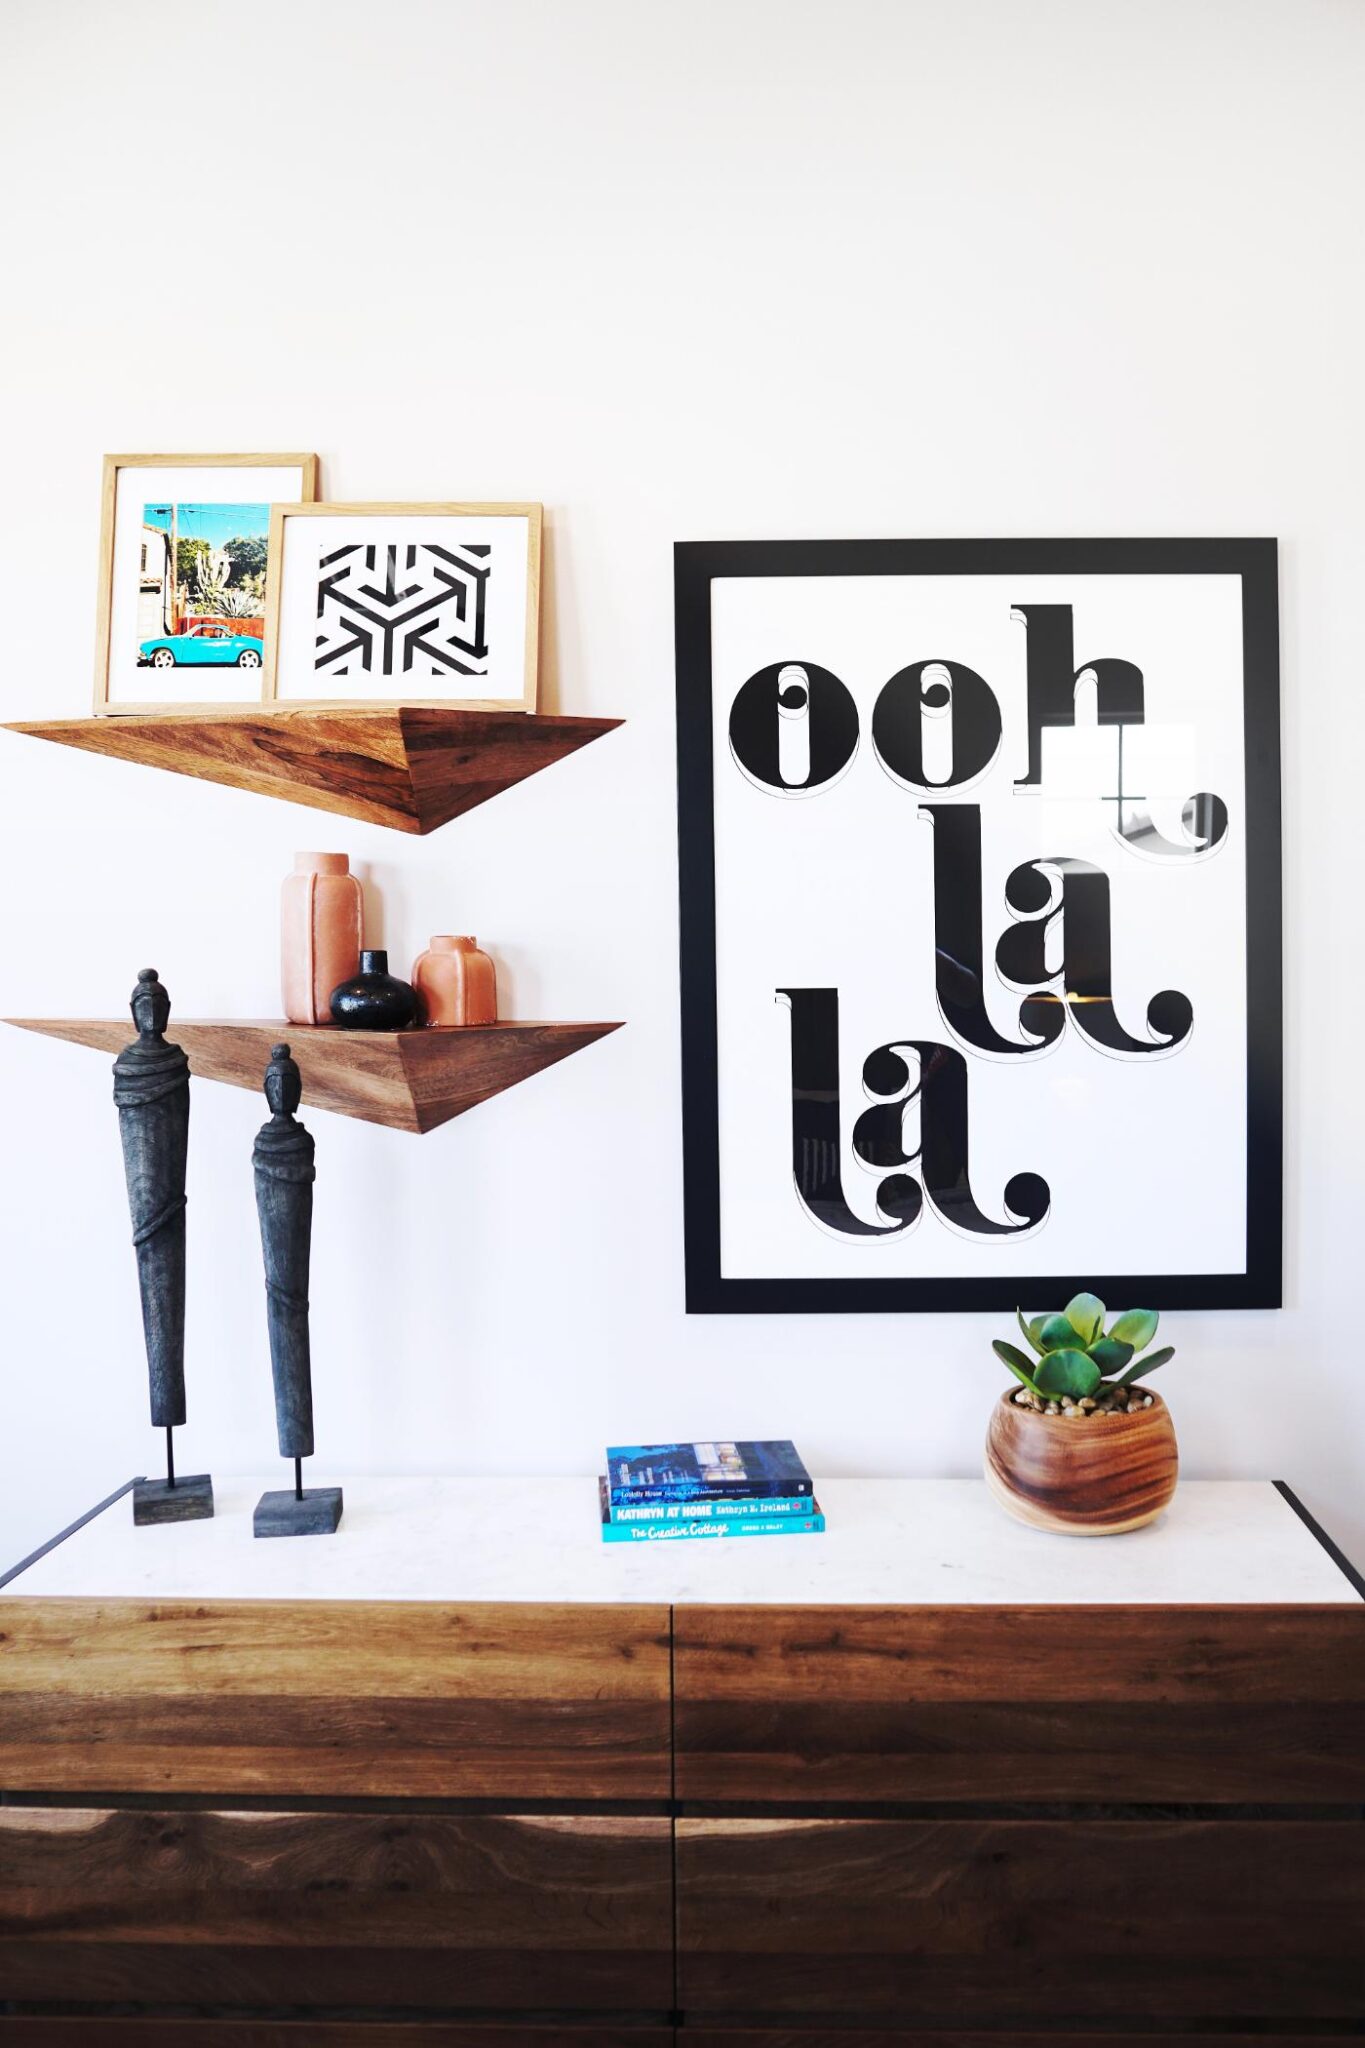
Put any words using any font onto the page and then simply print at home onto some card.
I absolutely love using Canva to create all my blog images/social media content and they have tons of free templates, so you’re sure to find something in there. All you’d have to do is making it the size you want for printing, and voila!
4. Tissue paper and paints

Easily create this face artwork with some tissue paper and paints! Use glue to shape and mould the tissue paper to add texture to your canvas. Once you’re happy (and it’s dried), draw or paint any pattern to create something beautiful like the above.
5. Freehand it
If you’re feeling brave, see what happens when you create a pattern using watercolours on some card.

You don’t have to be an artist to create something like the above!
6. Frame some pressed flowers or wallpaper samples
There are tons of things you can frame, and I love the idea of framing some of your leftover wallpaper, or foraging for some flowers that you can dry out and frame.

DIY wall art is a fantastic way to add a personal touch to your home decor. You can create stunning and unique pieces that reflect your style with the right tools and techniques.