
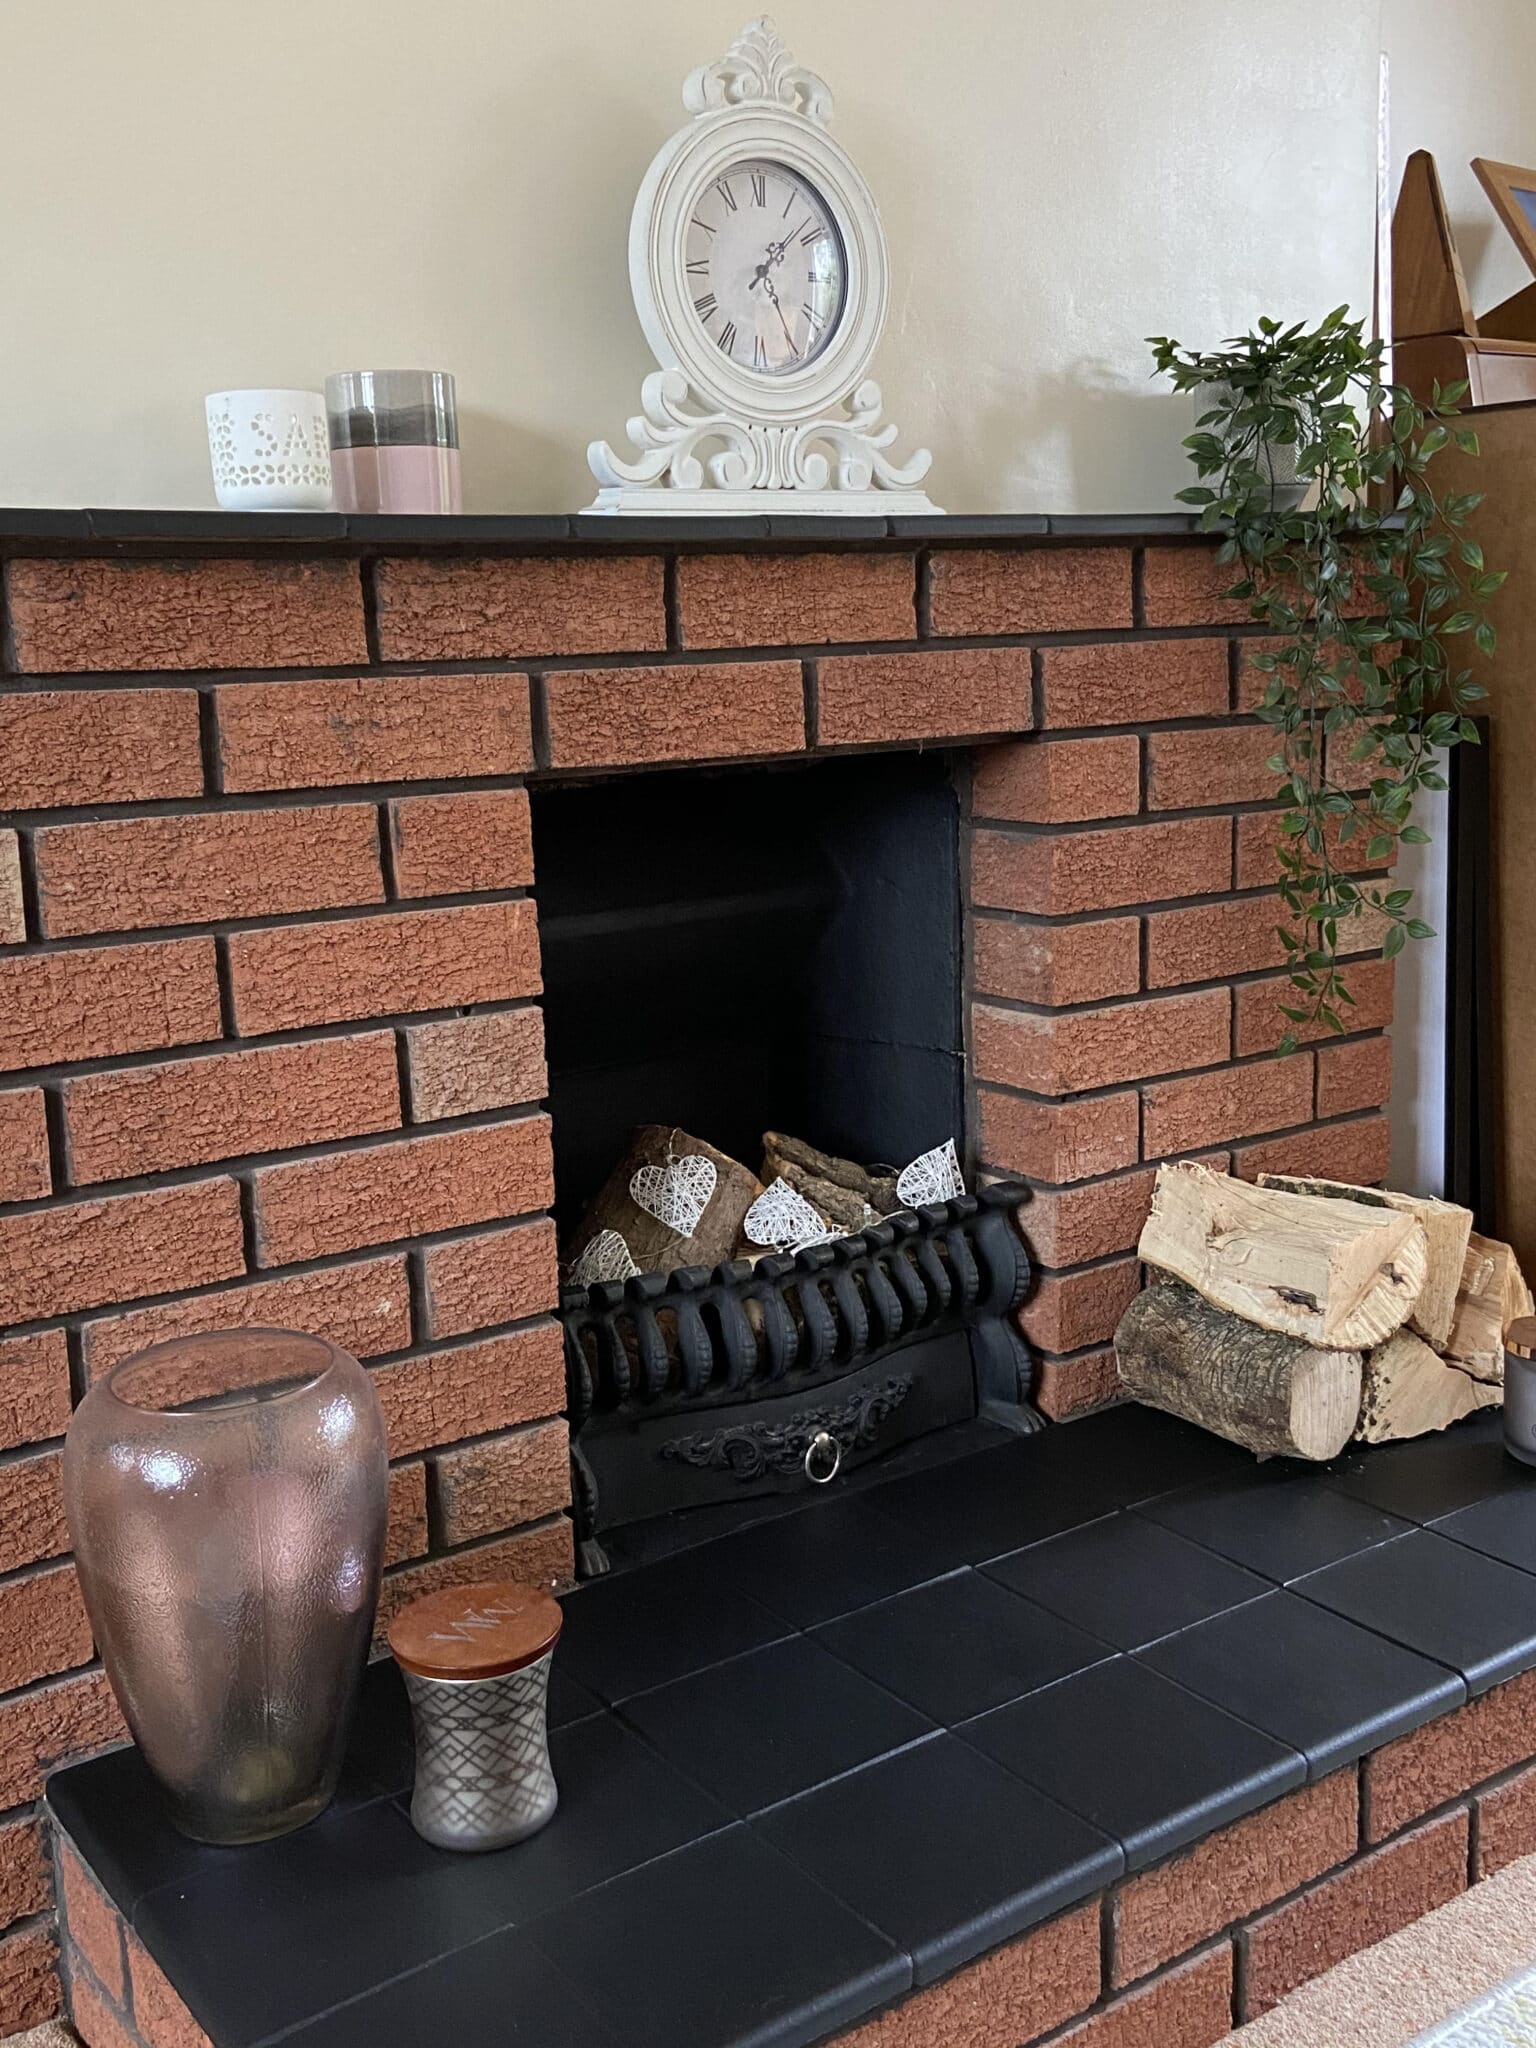
Fireplace makeover on a £10 budget
As I’m sure you’ll have seen on my site and my Instagram, we moved house this month! It’s in our perfect location, the house and surrounding plot is incredible and we feel so lucky that it’s ours.
But it needs work. Most, not so serious. The current decor we can live with and the house is actually in really good condition, but we want to make it ours and decorate it until the time comes to make the big changes.
I decided to start small. There are tonnes of projects I could have started first, but I eased myself in with this simple fireplace makeover on a budget of just a tenner.
The fireplace is the definition of the 80s. It comes out about a thousand feet into the room and is covered in questionable brown tiles. There was a gas fire in there, however this had to be taken out, as our Home Buyers survey showed safety issues.
So, this is what we’re starting with:


I tried my best to make it look better with some home decor touches, but I don’t think anything could improve it the way it looked.
So, here’s how I completed my fireplace makeover for just £10.
How to paint fireplace tiles
1. Give it a clean
The golden rule before painting anything is to ensure it’s dry and dust-free. I hoovered the inside of the fire to clean out the bird poo (think we need to block off our chimney) and around the edges of the brick to clean away any cobwebs.
Then I used a damp cloth to give everything a wipe down before drying it with a different cloth. I made sure there was no dust on the tiles before painting them.
2. Prep your space
The second most important part of painting is the prep. By prepping the area fully, you’ll avoid any mishaps, accidents or paint going in places it shouldn’t. I used Frogtape* just to be sure I didn’t get any paint on the cream walls.

3. Get painting
For this job, I used Rustins heat resistant matte black paint that dries quickly and is low VOC. I bought the smallest tin for just £6. I also used a small paintbrush. At first, I was just going to paint the tiles and leave the grout, however, I quickly realised that it would be a better finish just to paint the whole thing.
I was absolutely amazed at how quickly this task took me. I spent an hour doing the first coat, making sure to be as neat as possible. The second coat took 35 minutes, meaning I was done within an hour and a half. The quick dry paint meant I didn’t have to worry about waiting a really long time for the first layer to dry.
As soon as I did the first tile, I knew the fireplace was going to be transformed. It just instantly looked so clean and even made the grout on the brick look cleaner.


For the first coat, I left the inside but painted the hearth and the mantelpiece. Already, it looked so much better.
I waited around 4 hours for the first coat to fully set before adding the second coat. This time, I painted inside the fire too.
What I hadn’t noticed at first was a set of initials right at the back of the fire. It looks like ‘R ♡ K’ and it was only when I put the black paint over the top that I spotted it. I’ve kept it like this. You can’t see it when the logs are in but it’s a cute piece of history.


Can you paint the tiles around a fire?
I think some people are afraid to paint the tiles around a fire, particularly when the area can get so hot. However, it’s absolutely fine to paint them as long as the paint is heat resistant. The Rustins paint linked above is okay up to 220 degrees, making it ideal for most fireplaces and radiators.
The finished result
And here is the completed fireplace. I can’t believe the difference that it’s made, and all for under £10 and in less than two hours.


I would highly recommend Rustins heat resistant paint to anyone who wants to makeover a fireplace or radiator. It was so easy to apply, fast drying and I love the matte finish.
*This post may include affiliate links, which means I may earn a small commission when you purchase something by clicking the link on my site.


